Enchanting Seashell Bouquets

For #ThrowbackThursday, I reached into the vault of previously written posts and found this one from 2012.

I reworked it a bit and added a few more photos of the seashell bouquets that I’ve crafted since then.

At the time, I needed a new project and somewhere. probably on Pinterest, I saw a bouquet of seashells and starfish and thought that it looked easy enough to re-create, so I did!

An added benefit to the seashell bouquet is to make as a gift for anyone who’s allergic to flowers. The irony here is that I’m allergic to roses. With a name like Rosebud, that’s pretty funny, not that I’d toss them out if someone wanted to send me a dozen, but we can’t be in the same room at the same time.

How to make the seashell bouquet:
1. Get craft sticks of all sizes; I even used chopsticks.
2. If you don’t have a glue gun, get one! I can’t live without mine, that’s for sure. For this project, you don’t have to be perfect, obvs you need to use more glue for the heavier starfish
3. Florist’s foam, that would be a good idea and it’s easily available at craft stores and the dollar store, which is where I got mine.
4. It’s pretty simple: glue the seashell or starfish or sparkly treasure to the stick.
5. Insert into foam cut to fit snugly inside the vase.
6. Done!

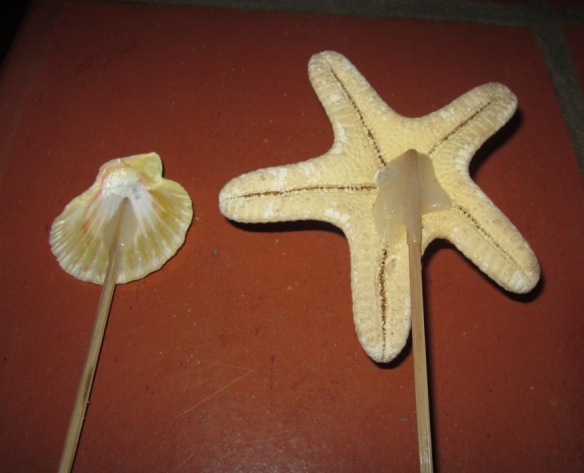
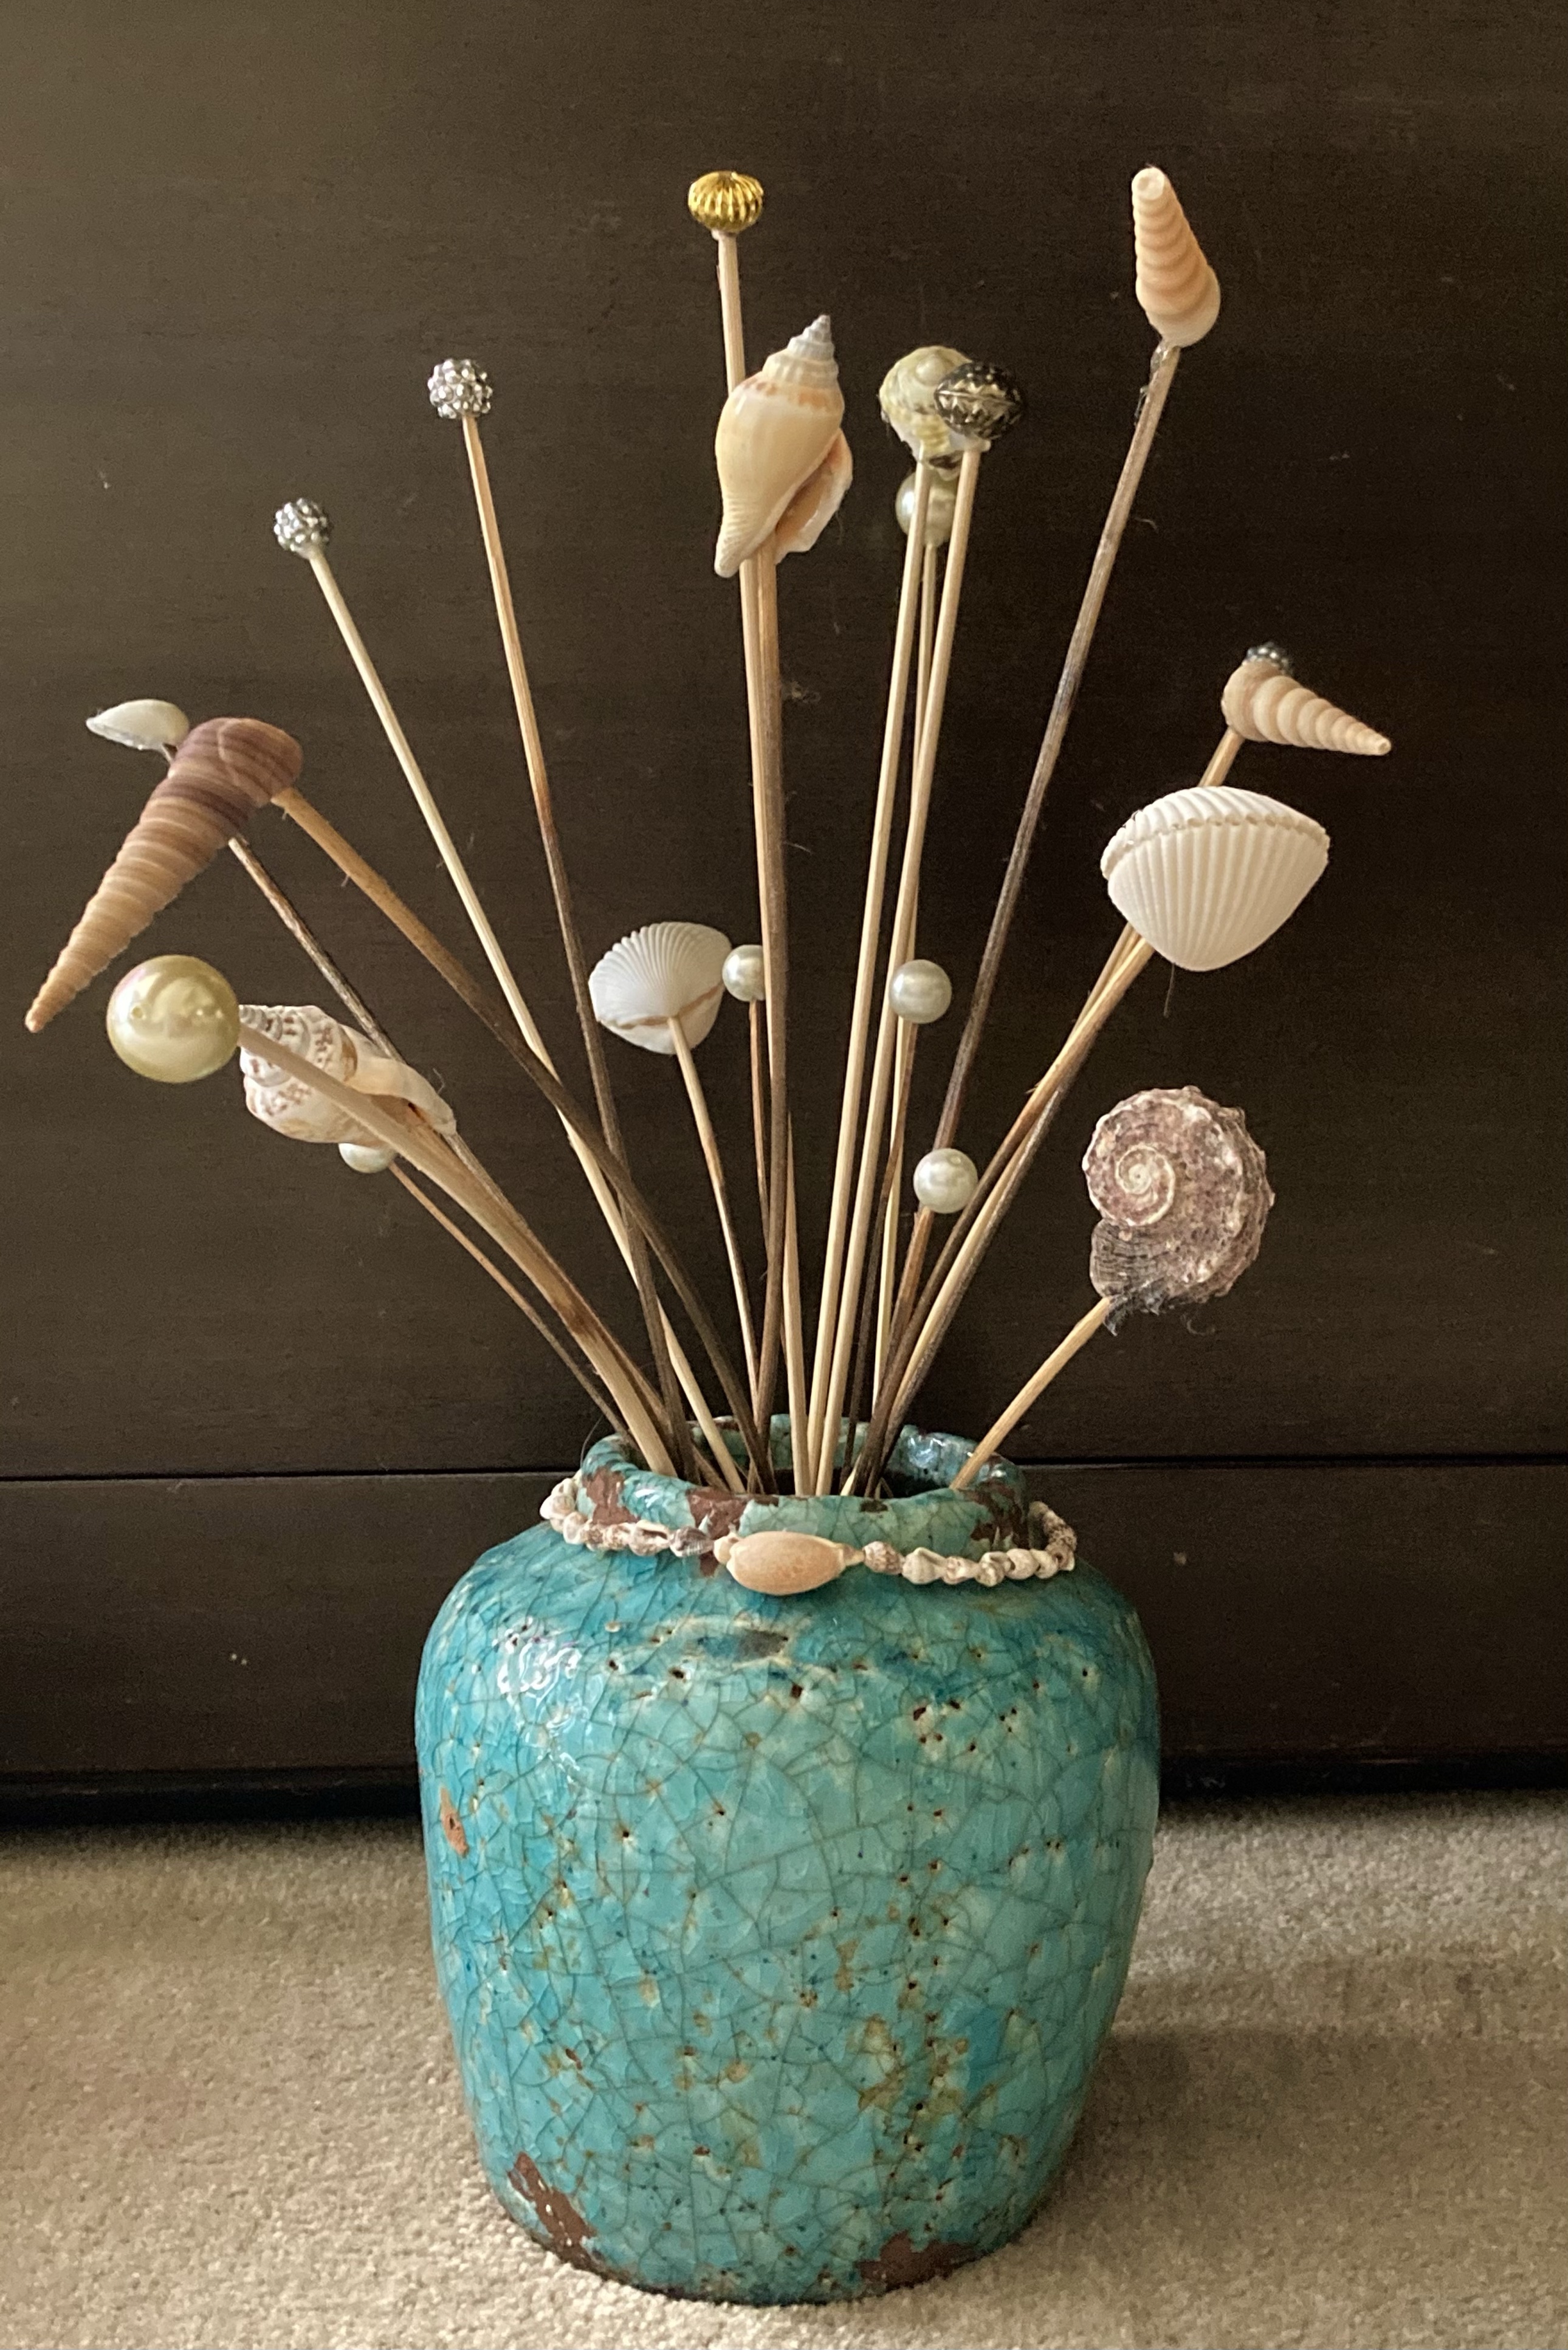
Voila! Here’s the finished product. This vase is at the bottom of our stairs up to the second level and is the first thing you see when you come in the front door. 

I used sticks from the garden because I wanted a natural, organic creation. The vase came from a vintage consignment shop in the village.
The vase came from Anthropologie; I embellished it with the seashell collar. Yay for glue guns!

Are you crafty? Let me know what you’ve been doing all the many months of being isolated during the Covid Pandemic. The next time I get to see Angel Boy 2.0, I think he’s old enough to help me make one, and I think he’d love to create a seashell bouquet. Of course, he’s still too young to use a glue gun, other than that, it’s a great project for children.

DIY Craft Project: Jazzed Up Animal Print Wedges

What could be better than marrying my love for shoe shopping with a little craftiness?

I found these cute Toms wedges on sale at Nordstrom Rack.tom1

The FIRST thing I did was to remove the Toms label from the heel area of the shoe.

Unless it says Chanel or Dior or Versace or even Kate Spade, I’m not doing any free advertising for anyone.

Plus, to me, TOMS label/logo is ugly. A whole lotta negative valence happening, if you understand those types of dynamics. (I’m aware he does good things with the One for One giving back campaign.)

I studied the shoes for a while, pondering the shape and colors and textures and found them to be a bit lacking in style.

Hmmm, what could I do to jazz ’em up a bit?

Pearls didn’t seem right, nor did seashells, but then I remembered I had a container of wooden beads — natural, organic, and elemental.

Almost everything can be improved upon, right?

PERFECT!Toms2

It was so easy, you MUST try this! My tugboat man thought I bought them this way.

All I did was string three beads and relace the wedges.embellishshoe2Why three beads? Because that’s how many fit the space. Two wasn’t enough, and four was too much. Three beads were just right.
embellishshoe1

Love!tomshoes2

Too easy, right? And that simple embellishment totally transformed rather bland shoes into fashion-forward and UNIQUE animal print wedges. They’ll totally rock with skinny jeans and a flowy, gauzy top, don’t you agree?

Toms3See?

PERFECTION!

Right now, I’m going to go crazy with my other lace up shoes and garnish them with jewels, pearls, and beads. I get all obsessed that way…

I’m a happy girl.