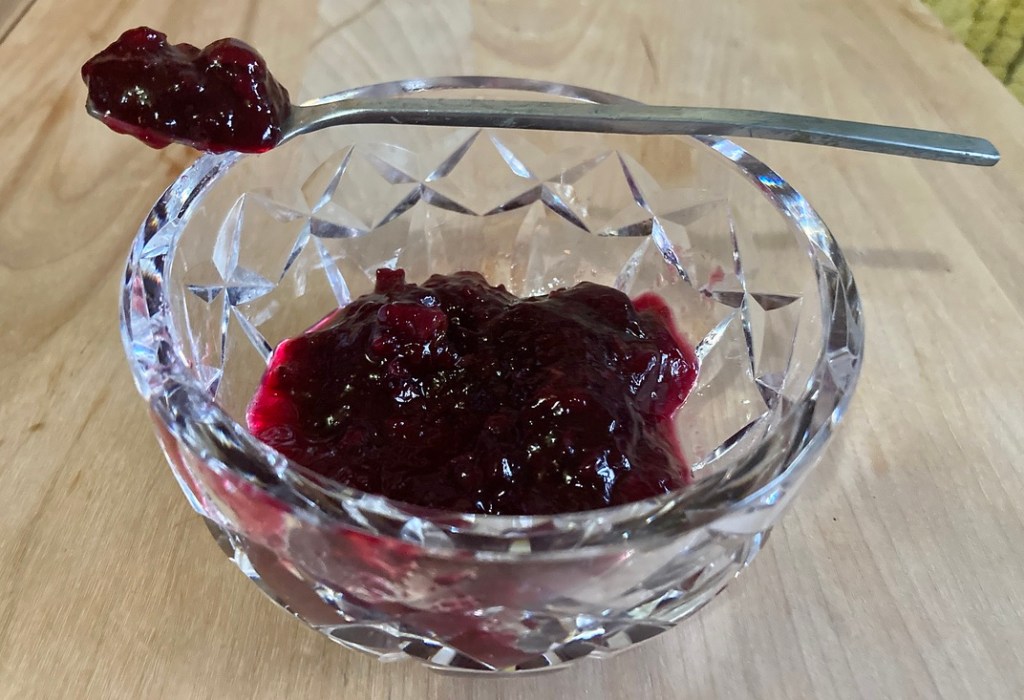
Yes, an actual tofu miracle!
Tofu Tip: Save tofu water; do NOT discard it!
Tofu water can be used to water plants, add to compost, or as a substitute for aquafaba or other liquids in recipes.
My mind is completely blown. I’ve drained tofu water ever since I started eating it, and that’s been a long long time.
Truthfully, I never thought it was anything but messy and annoying. Now I’ll save every single drop and tonight, I’ll try a DIY Tofu Facial.
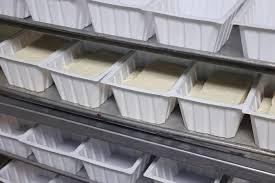
Here’s what I learned: tofu water contains beneficial nutrients like protein, fat, carbohydrates, and minerals (N, P, K) which fertilize plants and promote growth. You can also drink it, use it in soups, or even for DIY facials due to its soothing properties.
Some things you can do with tofu water:
- Plant Fertilizer: Pour it onto your houseplants or in your garden to provide nutrients and help them grow.
- Compost Additive: The liquid can be added to a compost heap to enhance the organic material and nutrient content.
- Aquafaba Substitute: Use it in recipes that call for aquafaba (the liquid from canned chickpeas) as a vegan alternative for binding ingredients in sweets or savory dishes.
- Cooking Liquid: Incorporate it into dishes like soups or stocks, especially if the liquid has been reduced to a thicker consistency.
- Baking: Add it to the overall liquids.
- Beverage: Some people boil tofu water with flavorings like vanilla almond milk, stevia, or cocoa for a nutritious drink.
- Smoothies: Add to blender with juices, plant milks.
- Facials: Tofu water contains compounds that can have soothing and calming effects on sensitive skin.
Let me know if you tried any of those suggestions, or if you plan to!