If an apple a day is supposed to keep us healthy, what can I do with all of these?
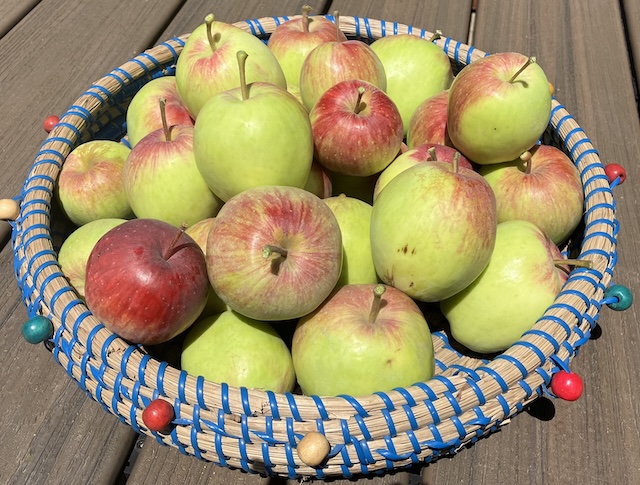
This is the first year I won the battle with rats and squirrels. I netted and secured the entire tree and picked the most abundant harvest yet.
I counted at least seventy apples and now I’m left with a busy day.
Photo by Enchanted Seashells
I’ll post the recipes later, but I plan to fire up the crockpot to cook and freeze applesauce, apple butter, and prep apple slices ready for pies. I’m feeling very much like Little House on the Prairie with this bounty. I am so proud of myself!
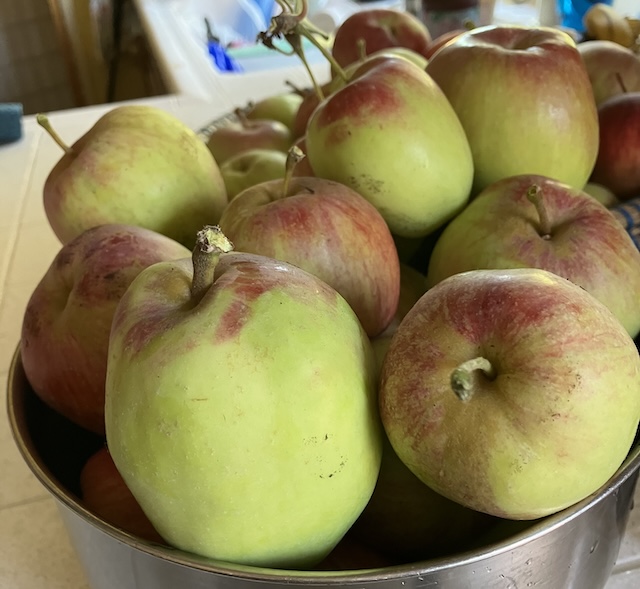
Photo by Enchanted Seashells
These apples were from one tree; there’s another tree on the upper garden with smaller apples but I’ll pick them today and add them to the crockpot, too.
The smell of apples + cinnamon is sooo therapeutic! 🍎
I can do hard things but successfully birthing sourdough starter eluded me every single time.
This isn’t funny. One day I say I’m not giving up and the next day I want to toss it out (again) and NEVER try.
I gave myself an ultimatum to attempt it ONE MORE TIME and then give up forever.
Here’s what worked for me: I stopped going crazy following all the scientific recipes and stopped reading the voluminous numbers of posts and pages and websites and YouTube videos dedicated to creating the proper sourdough starter and did it my way, kind of haphazard and casual. I mean if people had been baking with sourdough starters for hundreds of years with zero technology, how difficult could it be?
I’m happy to report that my efforts finally worked. I don’t have any pics of the starter because it’s really not impressive; just a blob of a bubbly and fermenting flour and water mixture.
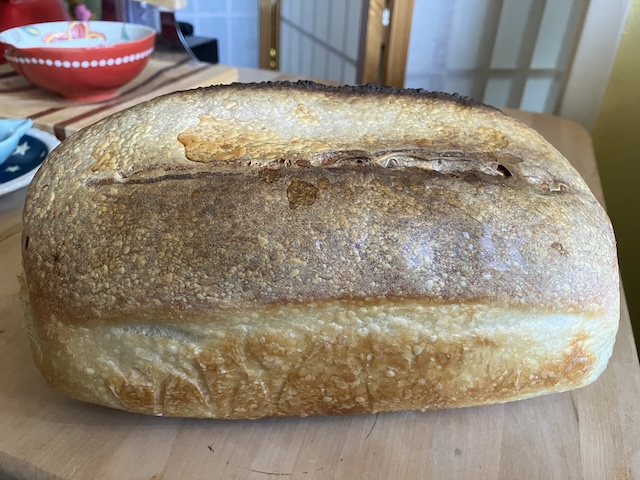
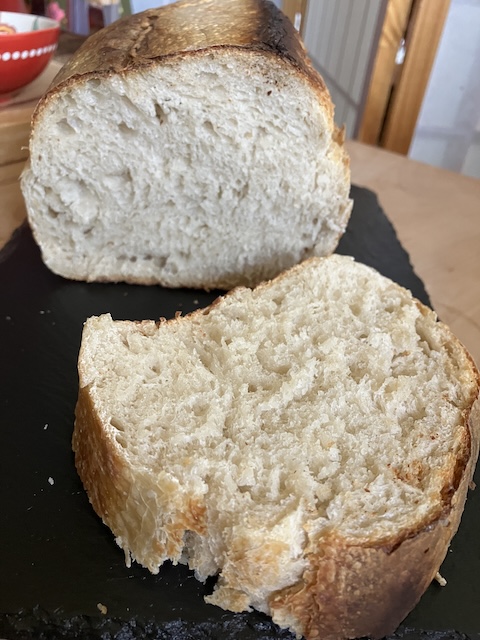
The real beauty is the reward for my perseverance, I baked it in a standard loaf pan to make it easier to toast. It rose like a cloud and tastes absolutely perfect. Crusty and rustic with a soft, chewy, sour interior texture.
I don’t remember the recipe I followed but the only ingredients are flour, water, salt. It takes a very long rising time, the longer the better for more sour flavor. I let it rise for twelve hours, so it’s definitely not a quick bread, but worth the wait, trust me!
All I have to do now is continue to feed the starter I’ve saved in the refrigerator and I can have sourdough all the time.
This is such an easy recipe — just a few minutes mixing and cooking in the microwave.
Since I have zero impulse control when it comes to being able to STOP eating chocolate, and since I was literally dying for some chocolate cake, and knowing my propensity to eat the whole thing, I decided to try a recipe for a single serving microwave chocolate cake.
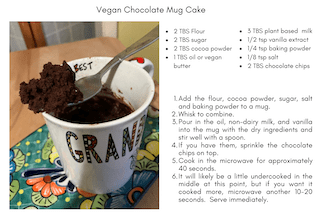
I choose one of my favorite Grandma mugs…
I have to confess that my very first mug cake was way more delicious than I anticipated! What a pleasant surprise! I will definitely make this again. But to be completely honest, those few bites weren’t quite enough to satisfy my cravings.
Ingredients:
2 tablespoons all purpose flour
2 tablespoons cocoa powder
2 tablespoons granulated sugar
1/8 teaspoon salt
1/4 teaspoon baking powder
1 tablespoon oil or melted vegan butter
3 tablespoons plant based milk or half plant based milk and cold black coffee
1/2 teaspoon pure vanilla extract
2 tablespoons dairy free chocolate chips (I didn’t have any in the pantry.)
Add the flour, cocoa powder, sugar, salt and baking powder to a mug. Whisk to combine. Pour in the oil, non-dairy milk and vanilla into the mug with the dry ingredients and stir well with a spoon. If you have them, sprinkle the chocolate chips on top. Cook in the microwave for 40 seconds. It will likely be a little undercooked in the middle at this point, but if you want it cooked more, microwave another 10-20 seconds. Serve immediately.
I make these so often, I can probably do it in my sleep. They are always requested by my son and DIL. The kids don’t eat chocolate, so it’s a grownup treat ONLY.
It’s SOOO easy and SOOO yummy.
Even if you’re not #vegan, don’t skip this recipe. I bet you’ll find it’s worth a try, especially if you love chocolate as much as I do.
It was so good, I’ve made it twice. The first time I used only five ingredients:
*Sweet potato, one cup cooked VERY SOFT and mashed *Nut butter (I used almond), 1/2 cup *Maple syrup, 1/3 cup *Vanilla, one teaspoon *Cocoa, 1/3 cup
Blend all ingredients by hand or in a food processor. Spread in a pie plate or small square baking dish.
Bake at 350 degrees for about twenty minutes. Let sit until completely cool.
If you have the time, the flavors are enhanced if it’s refrigerated or even frozen. I cut them into bite-sized pieces ‘cos it’s really rich.
The results can be a bit dense; sometimes I add 1/4 cup all-purpose flour or buckwheat flour. It would also be easy to blend some oats for oat flour, so that’s definitely an option.
YUM. Delicious AND healthy!
P.S. This recipe isn’t overly sweet, so if you want to add more maple syrup or even a LITTLE sugar, go ahead. I thought it was perfect without any additional sweetener, but I’m a choco-holic.
Are you thinking about what to serve this year for family gatherings? I swear, Angel Boy 2.0 could eat kugel every single day. It’s his most requested dish but I only make it a few times a year.
Let me introduce you to one of our family traditions. My mom’s recipe is NOT vegan, but it can easily be adapted if you substitute eggless noodles and eliminate eggs. It’s just as delicious.
What IS Kugel?
Of German/Jewish origin, Kugel is a savory or sweet pudding built around layered potatoes or noodles (lokshen), usually served as a side dish. Some recipes use cottage cheese, sour cream, cream cheese, and raisins, but that’s not how we make it.
Our family’s traditional Kugel is the sweet noodle version. It’s to die for. Really. Spectacular hot or cold or reheated, it’s one of those recipes you can make a day in advance and gets better and better.
If you have any leftovers– which we never do — it freezes well, too.
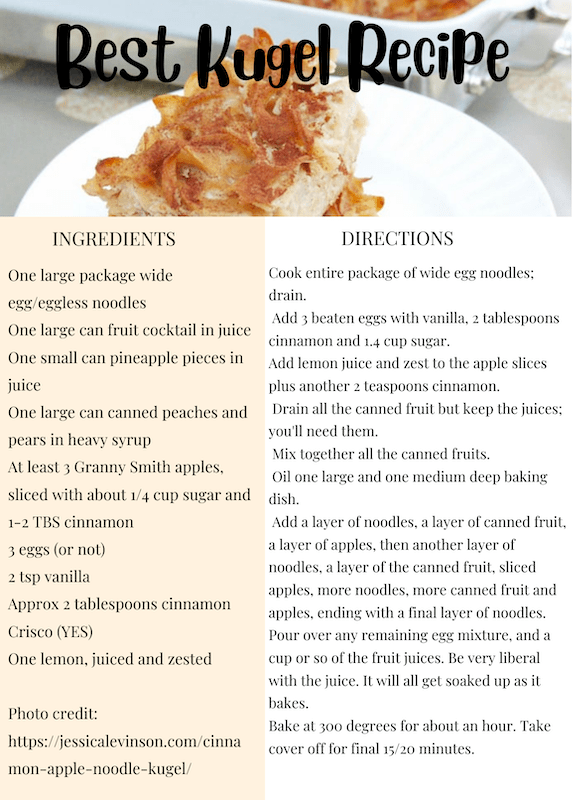
Grandma’s Kugel
Ingredients: One large package wide egg noodles (or eggless wide noodles) One large can fruit cocktail in juice One small can pineapple pieces in juice One large can canned peaches and pears in heavy syrup, yes, you read that right At least 3 Granny Smith apples, sliced with about 1/4 cup sugar and 1-2 TBS cinnamon 3 eggs (or not) 2 tsp vanilla Approx 2 tablespoons cinnamon Crisco (YES) One lemon, juiced and zested
Directions: This is a good dish to make in advance especially if you’re also planning to make apple pie (which I am) ‘cos you can just prep all the apples for both dishes. The secret to this dish is a LOT of cinnamon. If you think you have enough, add a little bit more. More is better, trust me!
1. Cook a whole package of wide egg noodles and drain. 2. Add 3 beaten eggs with vanilla, 2 tablespoons cinnamon and 1.4 cup sugar ; it will be super slippery. 3. Add the lemon juice and zest to the apple slices. 4. Drain all the canned fruit but keep the juices; you’ll need them. 5. Mix together all the canned fruits. 6, Use Crisco to oil one large and one medium deep baking dish. 7. Add a layer of noodles, then a layer of canned fruit, a layer of apples, then another layer of noodles, a layer of the canned fruit, sliced apples, more noodles, more canned fruit and apples, ending with a final layer of noodles. 8. Pour over any remaining egg mixture, and a cup or so of the fruit juices. Be very liberal with the juice. It will all get soaked up as the kugel bakes. 9. My mom would dot the whole thing with a bunch of Crisco, like ¼ cup, which sounds gross, but I still follow her recipe. Some people use butter, but we don’t. 10. Bake covered at 300 degrees for about an hour or so depending on the pan size. Take cover off for final 15/20 minutes. Excellent reheated and/or cold.
I had to have a tiny little thing — not cancer this time — removed from my bottom lip. I can’t pronounce nor even remember what my doc called it, but it was easily, albeit painfully, removed.
As she tossed me an icepack, she said the craziest thing!
She told me to stop at the store on my way home and buy a fresh pineapple.
What?
Not only was my doc prescribing pineapple to eat, but to dab on my lip!
Apparently this is due to the fact that pineapples contain bromelain, an enzyme found in pineapple that’s thought to reduce swelling and inflammation, and hasten healing.
By the way, it actually worked!
Like I always do, I did a little research and learned there’s a lot you can do with all parts of a pineapple.
Of course you can try to grow them when you cut off the tops and I did that, too. Hopefully, I’ll have some little pineapples in a couple of years.
Try this recipe, it sounds yummy!
Pineapple Water ✲ Clean and peel one pineapple. Save the fruit for another time. ✲ In a large saucepan combine the skins and core with a cinnamon stick, a few cloves, and a decent sized chunk of peeled ginger. ✲ Cover with eight cups water and bring to a boil. ✲ Lower the heat and simmer for forty minutes. Turn off the heat and cool. ✲ Strain the water, discard the pineapple skins and spices. ✲ Pour the water in a container, refrigerate, and enjoy.
P.S. It’s highly diuretic, and bromelain may interact with several medications including anticoagulants and antibiotics. It’s always best to consult a medical doctor before ingesting any part of a pineapple.
Happy National Pancake Day! It’s not just Fat Tuesday; it’s the day to celebrate pancakes, too!
When the original Angel Boy was young, my pancakes were a source of extreme disappointment. They looked inviting on the outside, but the interior was often mushy and undercooked.
Finally, my son had such a fear of my pancakes that he refused to eat them. It was quite traumatic for him, and I can understand that. Poor guy.
Things have changed with the Angels.
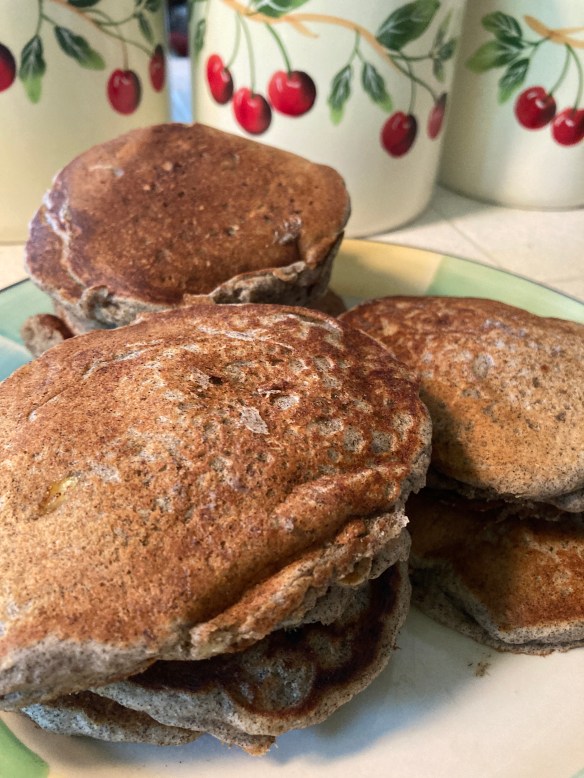
I worked hard to perfect my pancake game and I can now proudly claim to make the BEST Buckwheat Pancakes in my little part of the world.
There’s something incredibly delicious about the addition of buckwheat flour that elevates these pancakes.
They are in such high demand that I often need to whip up two batches. I can’t flip them fast enough to toss them on the plates of those feral little creatures.
Past traumas have been healed; my grown up angel boy can put away a giant stack without being frightened that he’s going to bite into uncooked pancake batter.
I had to get a big griddle to handle the demand and it’s like a Grandma Diner.
“More pancakes, please!”
Two versions of my famous pancakes; it’s easy to make *vegan.
Best Buckwheat Pancakes Whisk together in bowl: 1 egg 1 cup milk/plant based etc. 2 TBS veg oil 1 TBS brown sugar or agave 1 tsp vanilla Add: 1/2 cup white or whole wheat flour 1/2 cup buckwheat flour 2 1/2 tsp baking powder
Mix just until moistened, batter should be lumpy. Don’t overmix. Let batter sit for a few minutes. Cook on hot oiled griddle until brown on both sides (and cooked all the way through haha.) Options: add cinnamon, chopped apples, sliced bananas, berries.
*To make it vegan, use only plant based milk, delete the egg, and add two teaspoons white or apple cider vinegar as the final ingredient.
Have you tried this trendy snack? High in protein, vitamins, fiber, and minerals, chickpeas are full of nutrients. They’re a much healthier alternative to fried potato and tortilla chips.
I can’t make them fast enough–they get eaten as soon as I finish with one batch.
Some recipes suggest oven roasting, but I prefer the cooktop, so this is my version:
Ingredients: 2 cans garbanzo beans, also called chick peas (or cook your own) Oil Season with sea salt, pepper, hot pepper flakes, garlic powder
Directions: Drain and rinse garbanzo beans in a strainer, rubbing the beans until the thin, slimy covering comes off, and discard.
Spread out on a baking sheet covered in paper towels or a clean towel. The secret to success is to get the beans as dry as possible.
When they’re dry, empty into a bowl and coat with one tablespoon of neutral vegetable oil. Don’t season at this time.
Over medium high heat add a tablespoon of oil to a large skillet. Add the garbanzo beans in one layer. Let them cook without disturbing. If you hear a few pops, that’s normal. After about ten minutes, check on them and turn the beans so all sides can become crispy and brown.
At this time, add salt, garlic powder, and any other seasonings you prefer.
Keep pan roasting until they become beautifully golden brown and crispy. The drier they were to start with will shorten the roasting time.
Transfer to a parchment lined baking sheet to completely cool before storing in a tightly sealed container.
They’re supposed to last a few days but I’ve watched my son eat them all at one sitting, so I don’t have any personal info to share about that.
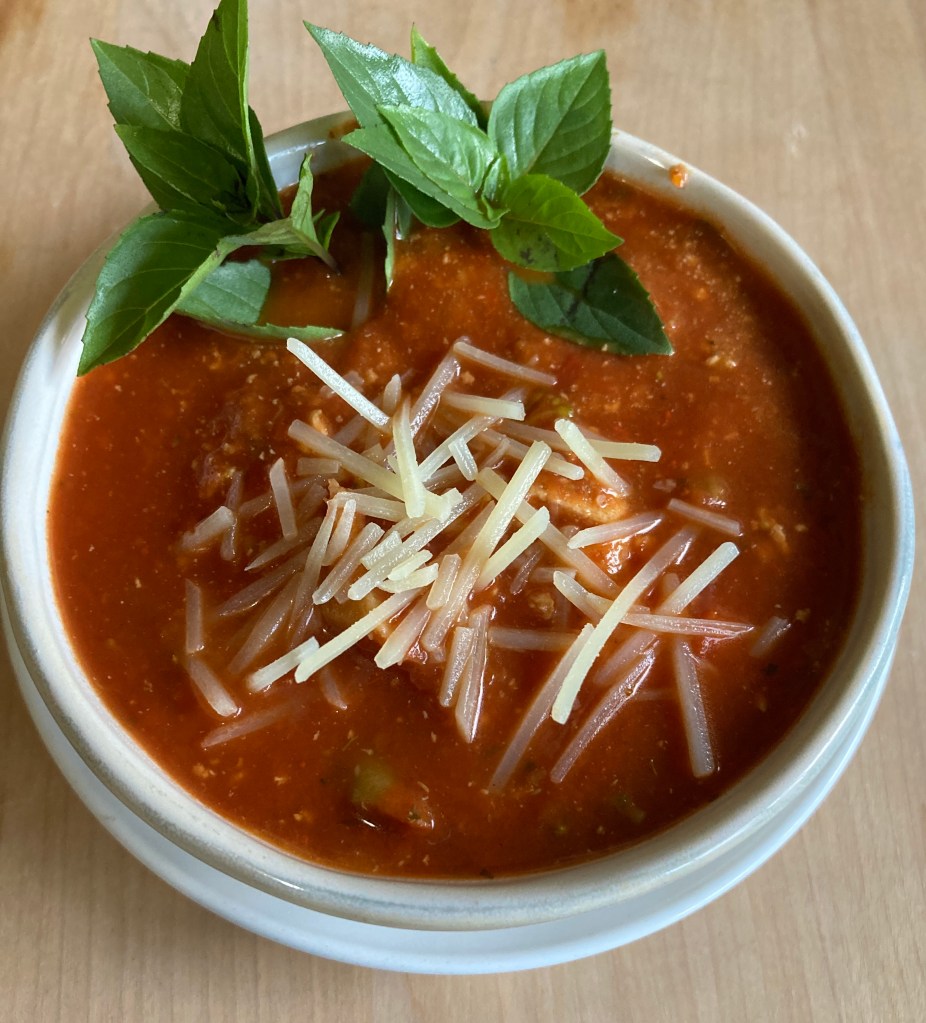
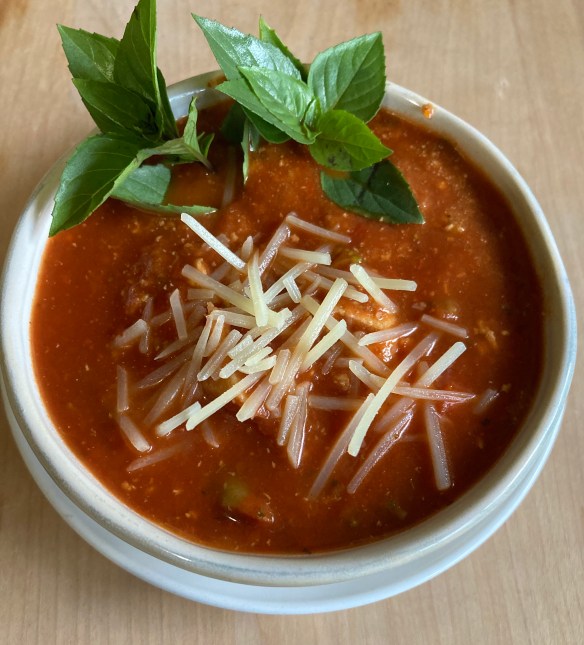
Last weekend was my monthly refrigerator cleaning project and I thought I’d toss everything I could into a pot and create some sort of soup.
The good news is I have a scrumptious pot of healthy soup to last a few days; the bad news is that now empty refrigerator and a need to hit the grocery store.
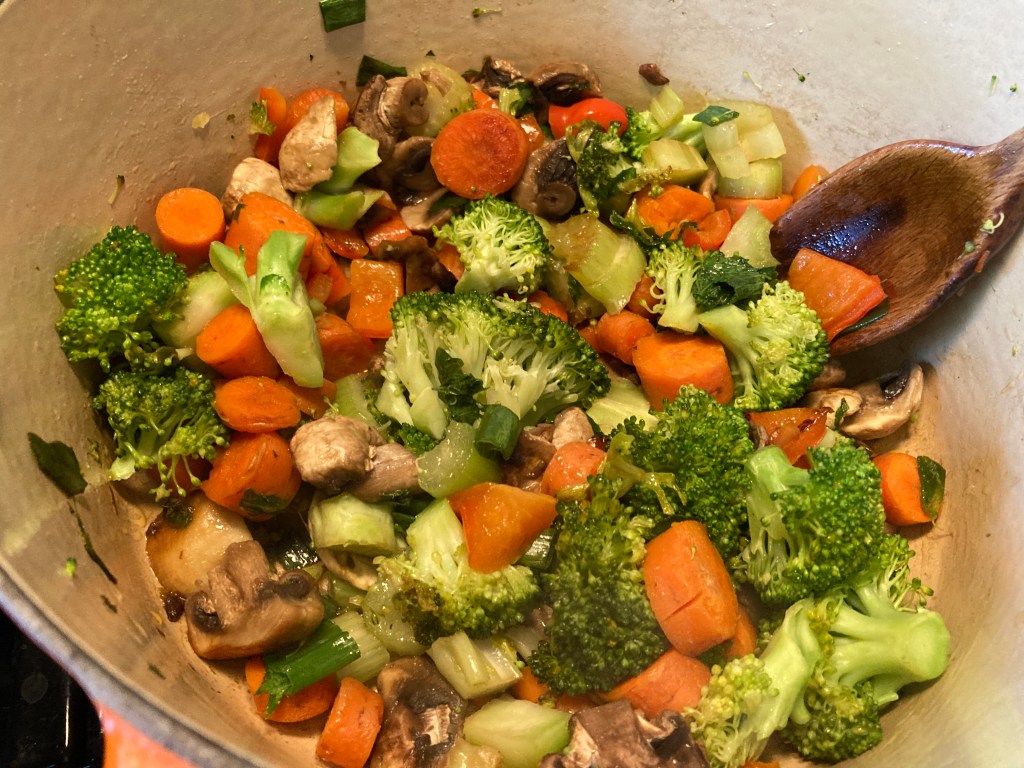
Here’s what I found to work with: -Mushrooms -Red Pepper -Carrots -Celery -Onion -Broccoli -Fresh chard and garden herbs -Tofu
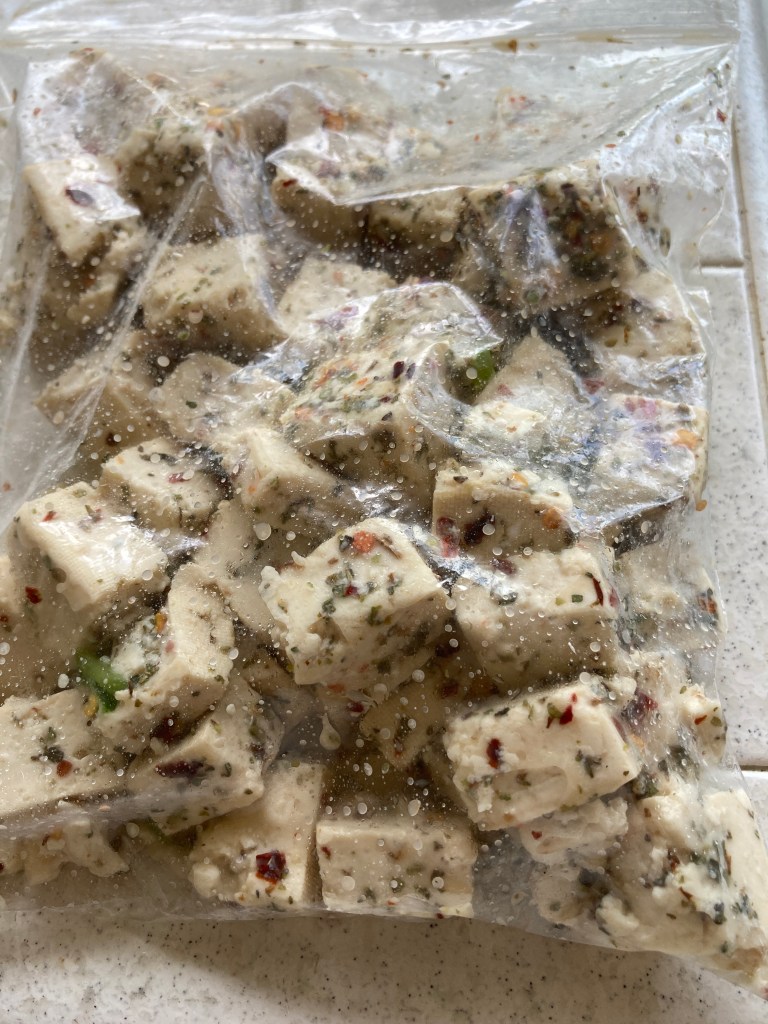
I first cubed and marinated the tofu in a little olive oil and Italian herbs with spicy dried red peppers.
I didn’t have any Better Than Bouillon (vegan) which is too bad as it’s amazing, and I didn’t have homemade stock, so I pan roasted the veggies in a couple of tablespoons of olive oil for a long time to develop fond on the bottom of the pan.
FYI: Fond are the brown particles found at the bottom of pans after browning vegetables. It adds flavor and moisture to a dish.
When I saw all those yummy little brown bits, I added a bit of water to make it easy to scrape up, then I added the marinated tofu, along with one large can of San Marzano tomatoes and one can of water.
FYI: I like to use the best Italian tomatoes because I think it really makes a flavor difference, especially when they’re the star of the show.
I added one scant teaspoon sugar and sea salt/pepper to taste along with these garden herbs:
Thyme, bay leaves, sage, oregano, and a lot of basil, saving some to sprinkle on just before serving.
Such vibrant colors! Simmered for about 45 minutes, pulled out the stems of the herbs as the leaves had fallen away as it cooked.
Before serving, I used my immersion blender to make the texture velvety and creamy.
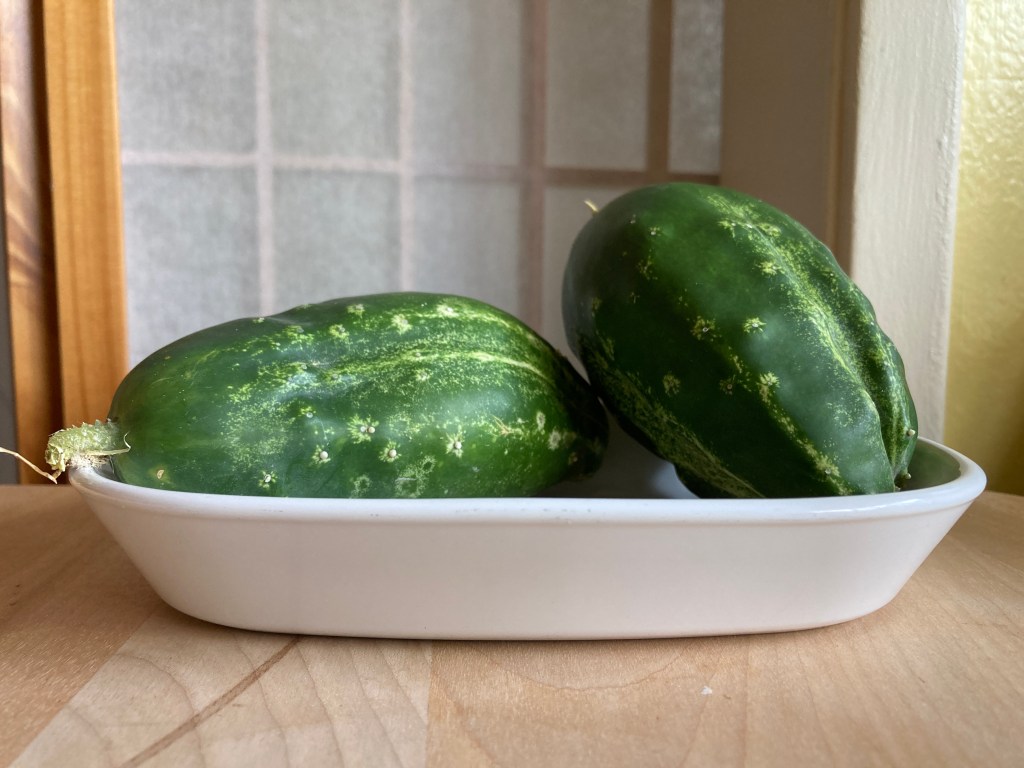
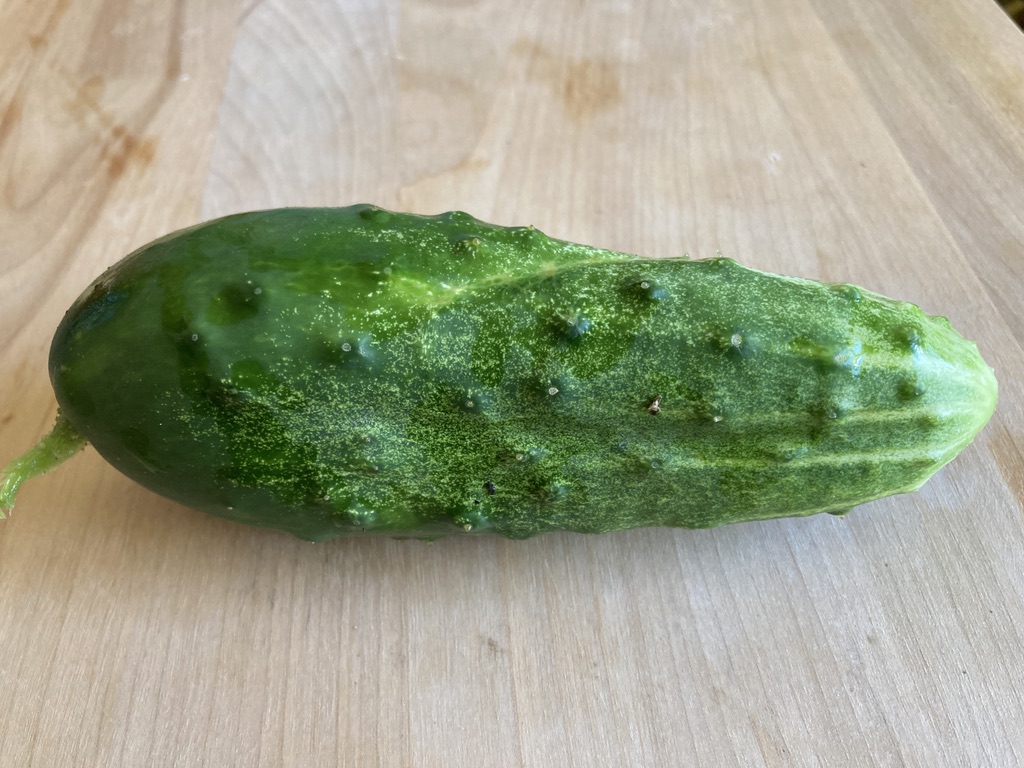
After the winds and rain subsided, I checked on my garden and discovered two previously hidden cucumbers.
I remember planting a few seeds of the pickling variety but everyone was all mixed up and I couldn’t tell which was which until I saw these gigantic specimens.
I haven’t completely decided if I’ll eat them fresh and possibly not pickle them, because I didn’t discover any others that were ready.







 Enchanted Seashells | Princess Rosebud