I love soft and chewy English muffins but they seem to be full of chemicals and dough conditioners and preservatives, so I thought I’d bake a batch of them since I’ve lately had some baking successes.
Did you know that English Muffins need no oven? They cook on the stovetop and it couldn’t be easier to whip up a batch.
In fact, it’s SO easy. I’m not going to bore you with too many photos to document every step; you can find them all over the internet if you need a more in-depth how-to.
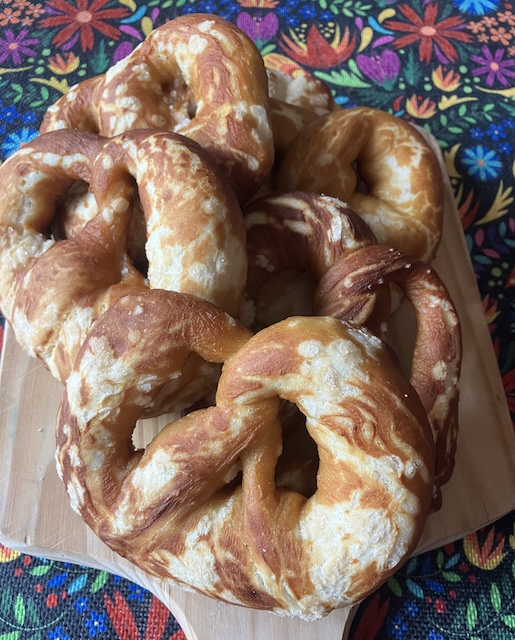
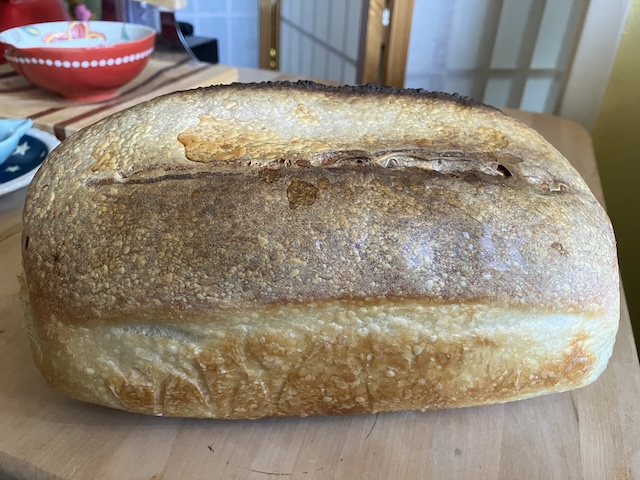
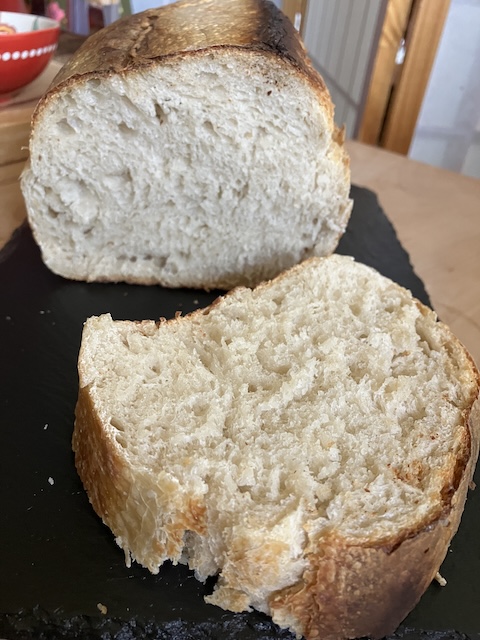
Homemade English Muffins are crispy, chewy, golden brown, and full of nooks and crannies.
ENGLISH MUFFINS
-3 cups all purpose flour
-2 teaspoons yeast
-2 teaspoons sugar
-1/2 teaspoon salt
-1/2 teaspoon baking soda (this is what creates the nooks and crannies!)
-2 TBS neutral oil
-1 cup + 2 TBS warm water
-1/3 cup cornmeal. (cornmeal gives muffins their authentic texture.)
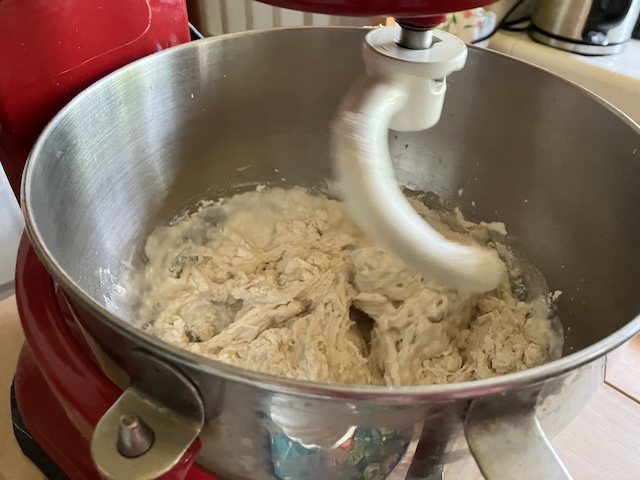
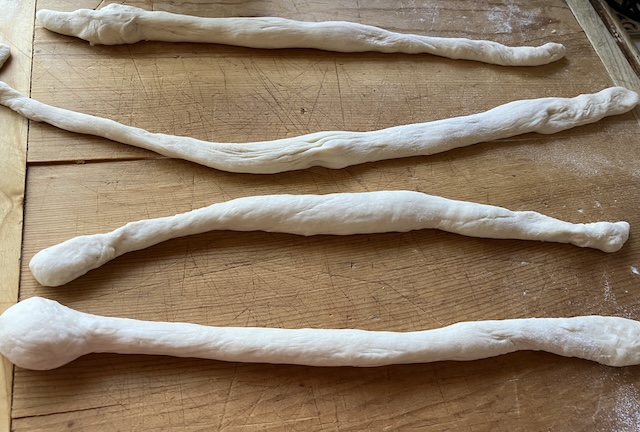
I used my stand mixer which made the whole process way less time consuming, but you can definitely use a hand mixer or go totally old school and mix it all by hand, which will take longer, but is actually quite satisfying…your choice.
- Add all ingredients EXCEPT the cornmeal to the mixing bowl. I used the dough hook. Mix on medium for about 7-10 minutes until the dough comes together in a sweet little elastic ball. Only add a drop or two of more water if it looks too dry.
- Place the dough into an oiled bowl, cover and let rise for about an hour or so until doubled in size.
- While the dough is rising, line a large baking sheet with parchment paper and coat it with the cornmeal.
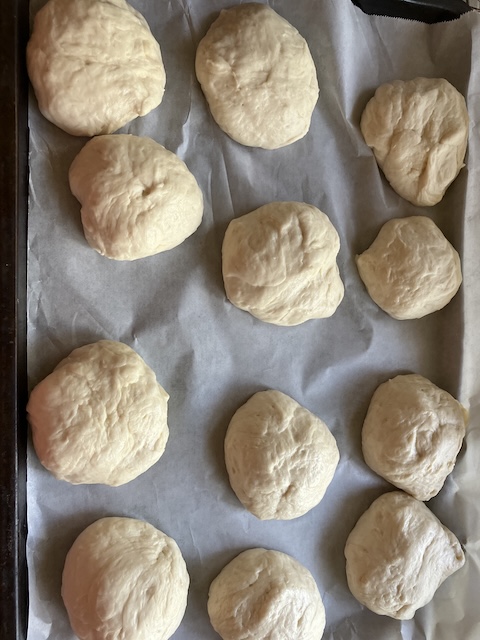
- When the dough is doubled in size, it’s ready to roll out. Empty the dough onto a floured board and roll out to about an inch thick.
- Using a three-inch cookie cutter or a glass dipped in flour to prevent sticking, cut out about eight muffins. You can re-roll any remaining dough to use it all up.
- Place on the cornmeal sprinkled baking sheet, and dust the tops of the muffins with more cornmeal.
- Lightly cover with a towel and let rise again for about 30-45 minutes.
- Toward the end of the rise, heat a griddle, cast iron pan, or frying pan over medium heat. Do NOT oil the pan.
- When the muffins are puffy, gently place the muffins on the griddle. Cook undisturbed for about 7 minutes until a peek reveals the proper deep golden brown color. Turn and cook for another 7 minutes or until you see that same mouthwatering color.
- Transfer to a wire rack and let cool. You can refrigerate or even freeze them, but trust me, they won’t last that long.
- They’re easy to fork-split and toast.
I was in a hurry to taste the finished product so I didn’t take the time to perfectly roll and cut, so they’re not uniform in size.


They’re easy to fork-split and toast. These are definitely not the prettiest English Muffins, but they’re oh so delicious with vegan butter and raspberry jam.