Memorial Day seems to mean that summer is just around the corner. If you’re looking for a tasty addition to your menu for warm weather eating, try a bulgur salad.
I’ve been eating it every day because when I find something I like, that’s what I do. It’s a perfect summery meal because there’s no need to cook fine bulgur; all you need is boiling water.
I know it’s a crowd pleaser because when I first experimented with the recipe, I placed a bowl on the table while the original Angel Boy was waiting for his lunch (they never grow up, haha).
As my forever best official taster, I asked him to try it and expected he would serve himself a small portion, but when I returned a few minutes later with the rest of his food, a giant tuna melt packed with avocado and veggies, he had devoured all of it and asked for more!
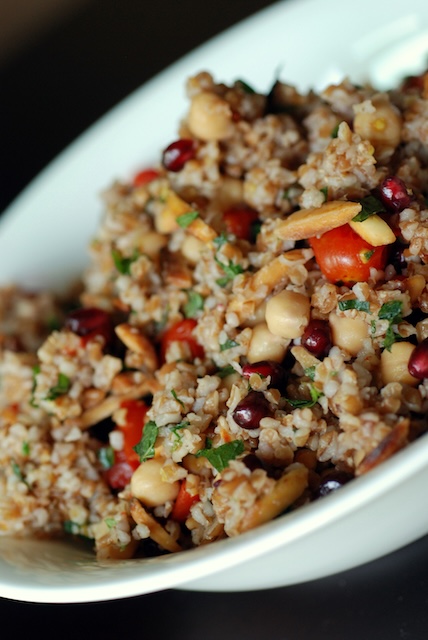
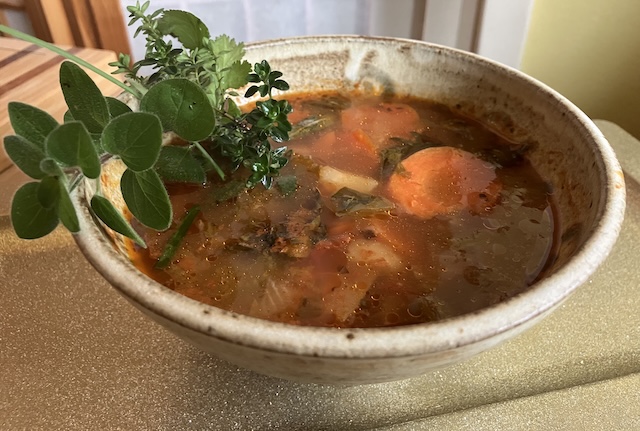
With fresh herbs, chopped vegetables, and a chickpea option, this bulgur salad is hearty enough to serve on its own or as a healthy side dish.
Mediterranean bulgur salad recipe is substantial, healthy, and full of flavor. I like to make it over the weekend and keep it all week for easy lunches.
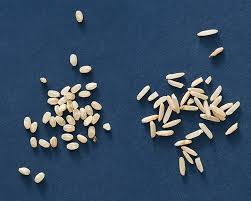
Bulgur is a chewy, nutty-tasting grain made from whole wheat kernels that have been parboiled, dried, and cracked. In addition to being delicious, it’s packed with fiber and protein, rich in vitamins and minerals, and low in fat and calories.
There’s a fair bit of prep work but it all combines quickly.
Mediterranean Bulgur Salad
Ingredients
1 cup fine bulgur
⅓ cup diced red onion
1 large clove garlic, finely minced (I omitted this)
1 red bell pepper, diced
1 small cucumber, seeded and diced
2 ribs celery, diced
I chopped tomato
½ cup finely chopped fresh mint
⅓ cup finely chopped fresh cilantro or parsley
1/2 cup pomegranate seeds.
¼ cup extra-virgin olive oil, more as needed.
¼ cup fresh lemon juice, from 2 lemons
½ teaspoon freshly ground black pepper
1/2 teaspoon Himalayan salt.
Optional: 1 can chickpeas, drained and rinsed
Optional: crumbled feta
Directions:
Bring a pot or kettle of water to a boil. Place the bulgur in a large bowl with ½ teaspoon salt. Pour 1¼ cups boiling water over bulgar. Cover the bowl tightly with plastic wrap and top with a towel to keep the heat in. Let sit for 15 to 30 minutes, or until all of the water is absorbed. Let cool, then fluff with a fork.
In another large bowl, whisk together the oil, lemon juice, garlic, pepper, and salt. Add the cooled bulgur and all the other ingredients. Toss well, then taste and adjust seasoning if necessary. Chill until ready to serve. Sprinkle with crumbled feta, if desired. Serve cold or room temperature on a bed of arugula and garnish with a sprig of fresh mint.
Option: If you need to be gluten-free for any reason, an easy swap for the bulgur is cooked quinoa.
Fun facts: I was surprised to learn that this is also called the Jennifer Aniston Salad for some reason, but it existed long before she became famous on Friends.