YUMMY Chocolate + Black Beans + Beets Brownies

plus

http-www-cocoavia-com

http-www-cocoavia-com

and

wikimedia.org/wikipedia/commons

wikimedia.org/wikipedia/commons

equals

chocolate cakeplate

Now, don’t you all go rolling your eyes at me.

I used to be a teacher and I still have eyes in the back of my head.

I can see you.

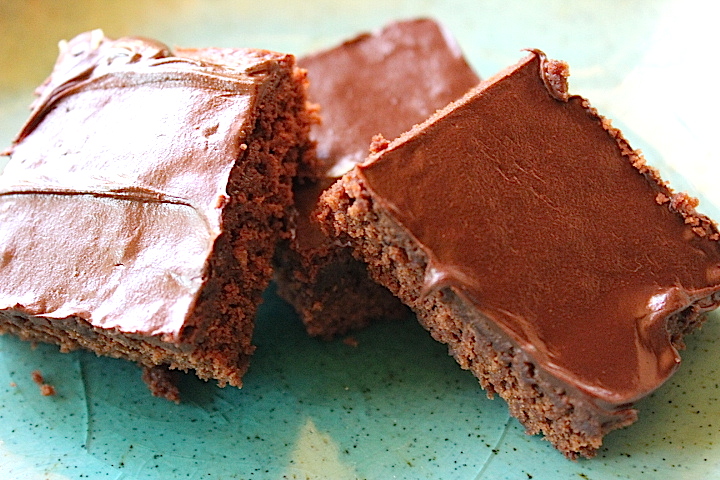
Before you make all those gaggy sounds and scrunch up your face (you know who I’m talking to!), I implore you to TRY these very tasty and UBER healthy brownies.

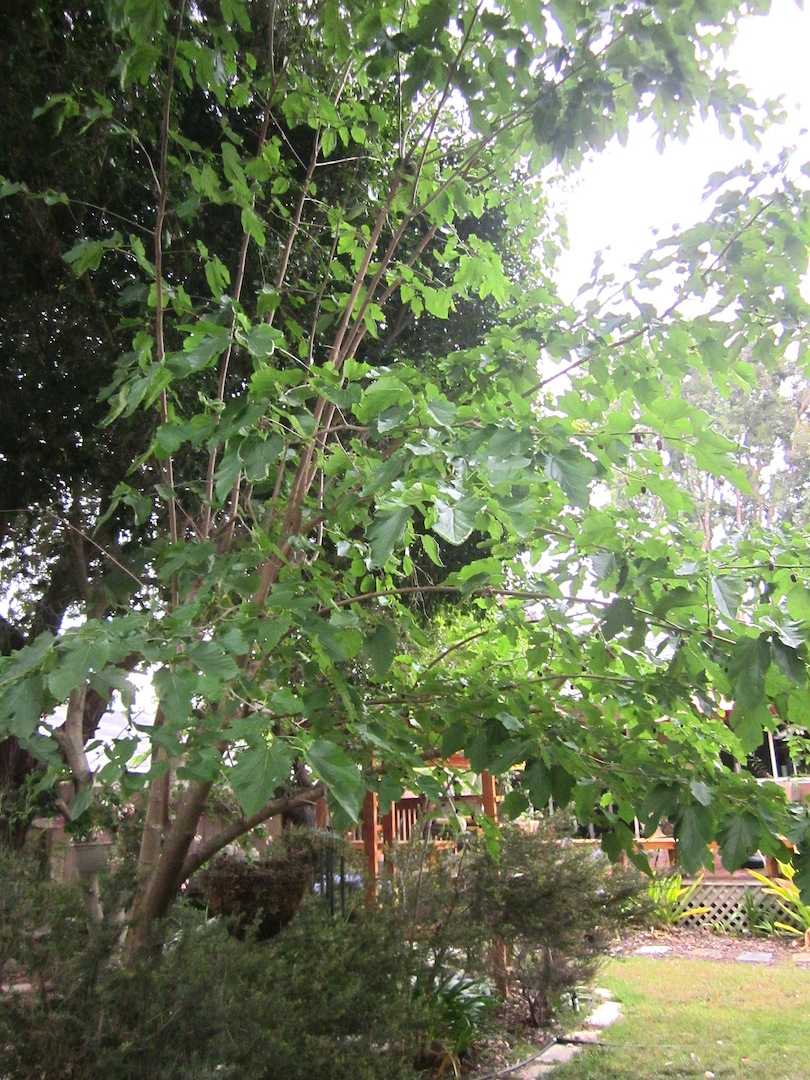
Well, not all that healthy ‘cos of the sugar and chocy chips, but cocoa beans grow on a tree, so that makes them a plant — therefore sort of a veggie or a fruit. So, healthy, right?

Don’t be all judge-y and shake your head.

TRY them for me, OK?

Black Bean + Beet Brownies

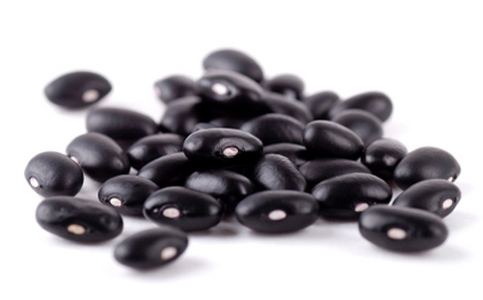
  • 1 can or 3/4 cup cooked black beans (unsalted or rinse well)
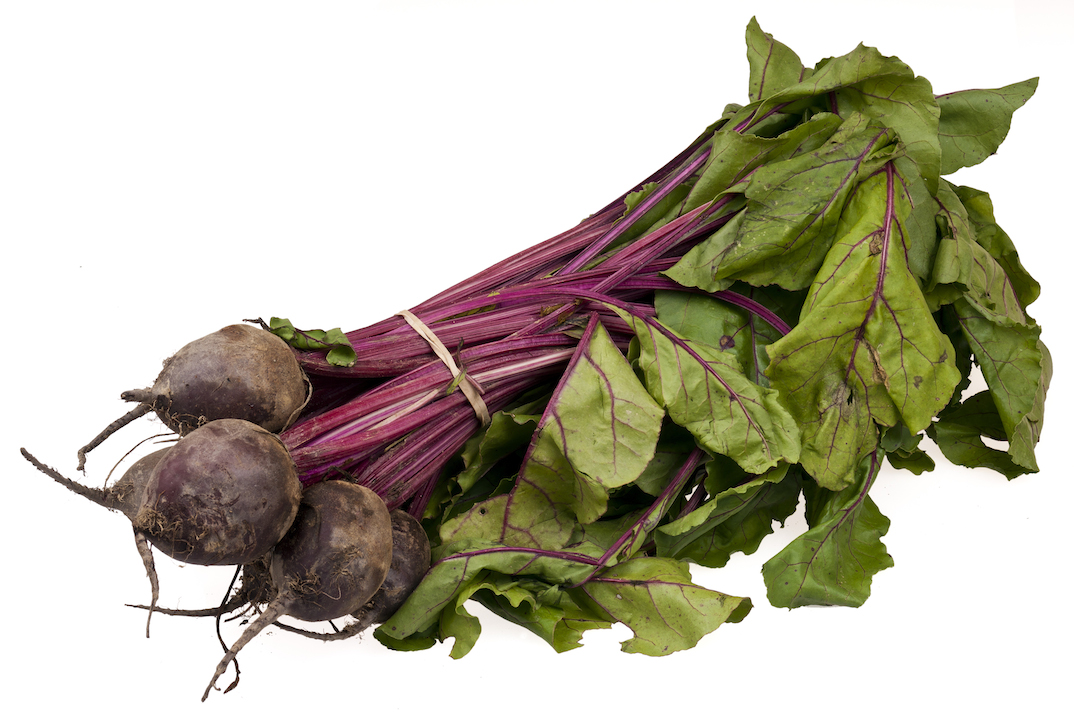
  • 2 tablespoons – 1/4 cup unsalted cooked beets or finely shredded raw beets (Yes, BEETS!)
  • 1/2 cup vegetable oil, or olive oil(I always use a bit less)
  • 2 eggs *see below for vegan substitution*
  • 1/2 cup unsweetened cocoa powder
  • 2/3 cup sugar ( I’ve tried brown sugar and I’ve tried agave, not sure what’s better, kind of a personal taste thing)
  • 1 teaspoon instant coffee or espresso or leftover cold coffee
  • 1 teaspoon vanilla extract
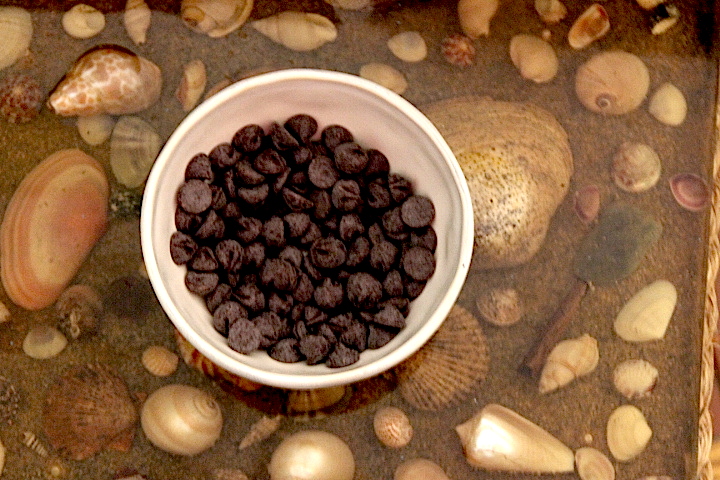
  • 1/2 cup mini chocolate chips, divided
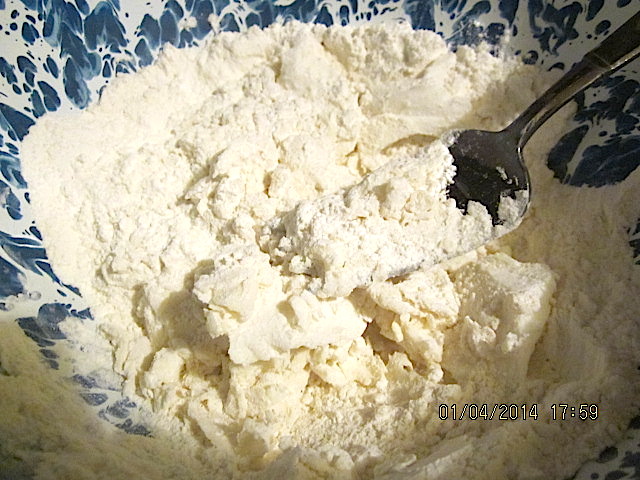
  • 1/3 cup flour
  • 1/2 teaspoon baking powder
  • 1/2 teaspoon salt

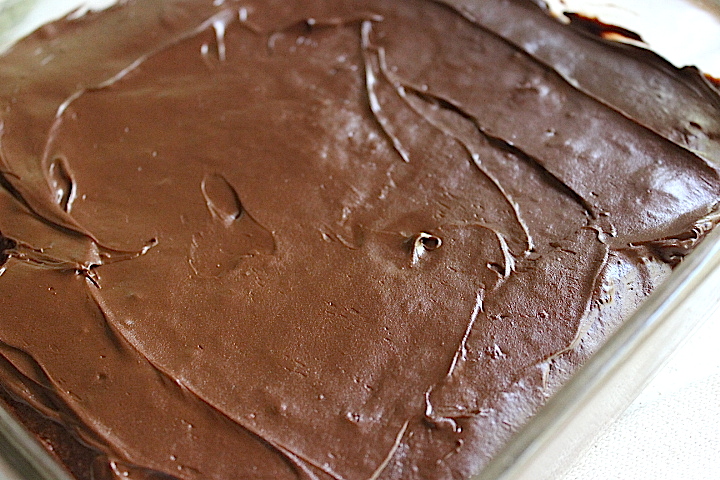
Top with Best Baking Hack Ever frosting (click for recipe)

Directions

Preheat the oven to 350 degrees F. Grease a 9 by 9-inch square baking pan. In a blender or food processor, puree the beans and beets with the oil. Add the eggs, cocoa, sugar, coffee, and vanilla. Melt half the chocolate chips and add to the blender. Blend on medium-high until smooth. In a small bowl, whisk together the flour, baking powder, and salt. Add to the blender and pulse until just incorporated. Stir in the remaining chocolate. Pour into the prepared pan. Bake until the surface looks somewhat matte around the edges and still a bit shiny in the middle, about 20 minutes. Let cool at least fifteen minutes before eating. My family thinks they taste better the longer they sit in order for any “beany” texture to dissipate.

Best Baking Hack Ever

bakinghack1 bakinghack2 bakinghack3


Wanna go vegan? 

  • 1 Tbsp. Chia Seeds
  • 3 Tbsp. Water

With food processor, spice grinder, or old school mortar and pestle, grind the chia seeds into a meal. Mix the water and ground chia seed meal in a small bowl. Allow to sit for 5 minutes or so, or until it takes on a gloppy texture similar to raw egg yolk.

Not a Sunflower

And not an artichoke, either.

These are SUNCHOKES.sunchoke1 I wonder what they taste like. Anyone tried them?sunchoke2According to Wikipedia, The Jerusalem artichoke (Helianthus tuberosus), also called sunrootsunchokeearth apple or topinambour, is a species of sunflower native to eastern North America.It is also cultivated widely across the temperate zone for its tuber, which is used as a root vegetable.[2]

I haven’t harvested my tubers yet ‘cos I’m still enjoying the flowers — that’s about all that’s flourishing in my garden during this horrible drought in California — but when I do, I’ll probably roast them with garlic, since we got a HUGE string of garlic from Gilroy, the garlic capital of the world, the last time we drove through central Cali.

Sunchoke Liqueur

Sunchoke Liqueur

Have you ever tried sunchoke liqueur? Maybe best of all, in Baden-WürttembergGermany, over 90% of the Jerusalem artichoke crop is used to produce a spirit called “Topinambur (de)”, “Topi” or “Rossler”.[13] By the end of the 19th-century, Jerusalem artichokes were being used in Baden to make a spirit called “Jerusalem Artichoke Brandy”, “Jerusalem Artichoke”, “Topi”, “Erdäpfler”, “Rossler”, or “Borbel”.

Jerusalem artichoke brandy smells fruity and has a slight nutty-sweet flavour. It is characterised by an intense, pleasing, earthy note. The tubers are washed and dried in an oven before being fermented and distilled. It can be further refined to make “Red Rossler” by adding common tormentil, and other ingredients such as currants, to produce a somewhat bitter and astringent decoction. It is used as digestif, as well as a remedy for diarrhea or abdominal pain.

If you’ve cooked with them, please send me your recipes. Thank you!


The Humble, Beatific Biscuit

Not out of a can.

Not out of a box.

Just a few modest ingredients, mixed and mashed and melded together to create blissful, aromatic, crusty-on-the-outside, fluffy-on-the-inside rounds of simple decadence.

Plain, buttered, or drizzled with agave, these are so satisfying with a bowl of Veggie-Lentil Soup, especially for those of you suffering from the #polarvortex with subzero Arctic temps.

biscuit7We don’t have gluten problems, so I used regular old white flour.

I don’t often bake items that are not 1000% nutritious, but we were totes craving the real thing.

It’s OK to indulge once in a great while, don’t you agree?

Here we start. You only need five ingredients; I’m sure everyone has milk, flour, shortening, salt, and baking powder in the pantry, right? #baking

biscuit2Next, it’s time to cut the shortening into the dry ingredients. I use a fork. Simple!

biscuit3 Add milk, mix, and let it rest for a few minutes to develop the gluten.
Then, roll it out and use a biscuit cutter or a glass if you’re cool like me. 

biscuit5

I always use parchment paper. Bake until they’re golden brown. You’ll be able to smell them as they rise and attain perfection. Don’t over bake or you’ll be able to use them as hockey pucks LOL.

biscuit6

Display on a pretty and fancy plate!. YUM!

biscuit1

Simple But Special #BiscuitRecipe

This recipe makes 8 to 12 biscuits

  • 2 cups all-purpose flour
  • 1 tablespoon baking powder
  • 1/2 teaspoon salt
  • 1/2 cup shortening
  • 3/4 cup milk
  1. Preheat oven to 450 degrees F (230 degrees C).
  2. In a large mixing bowl sift together flour, baking powder and salt. Cut in shortening with fork or pastry blender until mixture resembles coarse crumbs.
  3. Pour milk into flour mixture while stirring with a fork. Mix in milk until dough is soft, moist and pulls away from the side of the bowl.
  4. Turn dough out onto a lightly floured surface and toss with flour until no longer sticky. Roll dough out into a 1/2 inch thick sheet and cut with a floured biscuit or cookie cutter. Press together unused dough and repeat rolling and cutting procedure.
  5. Place biscuits on ungreased baking sheets and bake in preheated oven until golden brown, about 10 minutes.#baking

Here We Go Round The Mulberry Bush (Tree)

Bird droppings make great jam.

Perhaps generated by seeds embedded in bird poop; I’m not sure where this tree came from — I never planted it  — but one day there was a little sprout and a few years later it bore its first harvest.

We have two mulberry trees in our yard; the volunteer is fruit-bearing, the other that provides shade to the deck, is not.

silkwormcloseupSilkworms eat mulberry leaves; maybe I could raise a few silkworms and spin my own fabric — except worms are kinda gross, so I guess not.

mulberry tree3

Technically, the fruit of a mulberry is not a berry but a collective fruit, in appearance like a swollen loganberry. When the flowers are pollinated, they and their fleshy bases begin to swell. Ultimately, they become completely altered in texture and color, becoming succulent, fat and full of juice.

In appearance, each tiny swollen flower roughly resembles the individual drupe of a blackberry. Mulberries ripen over an extended period of time unlike many other fruits which seem to come all at once. {Wiki} They’re very sweet and mild.

mulberry tree2

mulberry tree

I learned from Martha Stewart to spread an old sheet on the ground and shake the tree. All the ripe fruit fall; I wash, dry, and freeze in quart bags. So far, I have about eight quarts and the tree’s not done. Raccoons come by at night and gorge themselves;  during the day, crows and other birds eat from the very highest branches.

mulberrysheetA bowl of mulberries.mulberrybowl

Three beautiful specimens. I add them right from the freezer to smoothies and cobblers and I’ll make a batch of jam, too. If I have enough, I’ll make a pie.

mulberry3

Mulberry Jam
(This recipe uses no pectin)

  • 2 1/2 cups mulberries, rinsed (the tiny green stems do not need to be removed)
  • Approximately one cup granulated sugar (I start with a very small amount of sugar and keep tasting. You can try agave, too.)
  • 3 tablespoons water
    Bring a large pot of water to a boil over high heat. Drop heat to medium-low and add jars and their lids. Simmer for 10 minutes to sterilize. Using tongs, remove jars and lids and place on a clean towel to let cool.
    In a medium, heavy-bottomed saucepan set over medium heat, combine mulberries, sugar, and water. Bring to a boil, boil for one minute, then drop to a simmer. Cook fruit, stirring occasionally, until foam subsides and mixture thickens slightly, about 7 minutes.
    Using a ladle, carefully transfer hot jam to sterilized jars. Wipe mouths of jars clean and screw on lids very tightly. Let cool at room temperature for at least 8 hours before using.

Wholesome Whole Wheat Bread

I baked a loaf of whole wheat bread to go along with the Veggie Lentil Soup.

I’ve had a lot of success with variations of this recipe. I’ve tried it with honey, agave, maple syrup, and brown sugar.  Still good. They’re right about adding orange juice; it really does soften the whole wheat-y flavor.

My son loves raisin bread so I’ll add a cup or so when he’s around and he can eat a whole loaf right in front of my eyes. He’s over six feet tall with a freaky uber-efficient metabolism; he can do that.

Just out of the oven I spread about a half teaspoon of vegan butter on top to get a shiny crust.

Classic 100% Whole Wheat Bread

  • 1 to 1 1/4 cups lukewarm water*
  • 1/4 cup vegetable oil
  • 1/4 cup honey, molasses, or maple syrup
  • 3 1/2 cups 100% Whole Wheat Flour
  • 2 1/2 teaspoons instant yeast, or 1 packet active dry yeast dissolved in 2 tablespoons of the water in the recipe
  • 1 1/4 teaspoons salt
  • *Use the greater amount in winter or in a dry climate; the lesser amount in summer or a humid climate.

tips from our bakers

  • Why the range of water in the dough? A lot depends on the weather, the season, and how you measure flour. You’ll need the lesser amount of water in the summer; or when it’s humid/stormy; if you measure flour by weight; or if you sprinkle your flour into the measuring cup, then level it off. You’ll need the greater amount of water in winter; when it’s dry out, and the humidity is low; or if you measure flour by dipping your cup into the canister, then leveling it off.
  • The liquid sweetener you choose makes a difference. Molasses produces the darkest loaf, one with old-fashioned flavor. Honey yields a lighter, milder loaf. Maple syrup makes a less-sweet loaf — unless you use real maple syrup, in which case it’ll be similar to a loaf made with honey, albeit with a faint hint of maple.
  • If you’re someone who tends to taste whole wheat as somewhat bitter, try substituting 1/4 cup of orange juice for 1/4 cup of the water in this recipe. A bit of orange juice tones down whole wheat’s somewhat tannic taste.

1) In a large bowl, combine all of the ingredients and stir till the dough starts to leave the sides of  the bowl. Transfer the dough to a lightly greased surface, oil your hands, and knead it for 6 to 8 minutes, or until it begins to become smooth and supple. (You may also knead this dough in an electric mixer or food processor, or in a bread machine programmed for “dough” or “manual.”) Note: This dough should be soft, yet still firm enough to knead. Adjust its consistency with additional water or flour, if necessary.

2) Transfer the dough to a lightly greased bowl or large measuring cup, cover it, and allow the dough to rise till puffy though not necessarily doubled in bulk, about 1 to 2 hours, depending on the warmth of your kitchen.

3) Transfer the dough to a lightly oiled work surface, and shape it into an 8″ log. Place the log in a lightly greased 8 1/2″ x 4 1/2″ loaf pan, cover the pan loosely with lightly greased plastic wrap, and allow the bread to rise for about 1 to 2 hours, or till the center has crowned about 1″ above the rim of the pan. Towards the end of the rising time, preheat the oven to 350°F.

4) Bake the bread for 35 to 40 minutes, tenting it lightly with aluminum foil after 20 minutes to prevent over-browning. The finished loaf will register 190°F on an instant-read thermometer inserted into the center.

5) Remove the bread from the oven, and turn it out of the pan onto a rack to cool. If desired, rub the crust with some vegan butter.  this will yield a soft, flavorful crust. Cool completely before slicing. Store the bread in a plastic bag at room temperature.

Yield: 1 loaf.