Here’s another post that actively ignores the bizarre world we live in. I’ve managed to compartmentalize it all down to a single grain of rice.
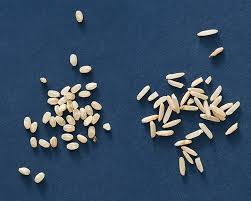
Unless you’re making sushi, no one likes to eat sticky, gummy rice. YUCK. Last night was a watershed moment in my kitchen.
Sometimes I don’t want to eat “healthier” brown rice. Sometimes only white rice will satisfy that inner craving. This time I perfected stovetop rice. Every grain was separate, fluffy, and exquisite; a joy to eat.
***The key is to rinse as much of the surface starch as possible before cooking.
- Always rinse white rice under cold water until the water runs clear. This prevents the grains from becoming sticky or clumpy.
- For most types of white rice, use a ratio of 1 part rice to 1.5–2 parts water.
- Never lift the lid while the rice is simmering. Steam escapes and ruins the texture.
- After rinsing the rice, bring to a rolling boil. Reduce the heat, cover tightly with a lid, and let simmer for about thirteen minutes.
- Turn off the heat and let it rest for a few minutes, then fluff with a fork.
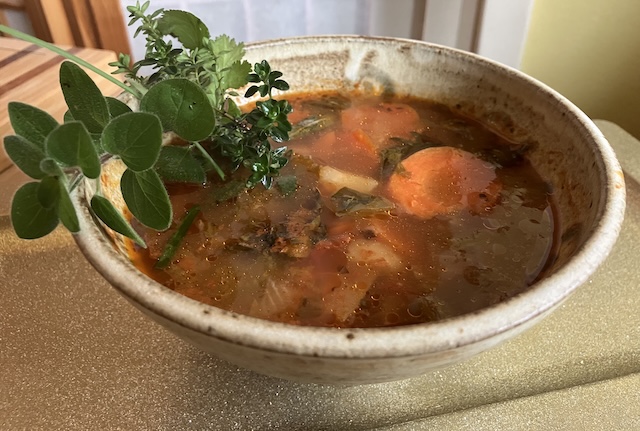
I usually add tofu and a variety of veggies to the pot before cooking, so this is a true one-pot meal.
HOWEVER, I learned that it’s not a great idea to make a giant pot of rice and eat it for several days because it can make you really sick.
Did you know about this?
“The culprit behind reheated rice syndrome is a spore-forming bacteria called Bacillus cereus. Unlike common foodborne bacteria like Salmonella and E. coli, cooking or reheating your food won’t protect you from a Bacillus cereus infection because the toxins are heat-resistant and the spores can also survive cooking or digestion and can afterward begin growing on food or in your intestines.
“It survives the initial cooking process as a spore and if it’s left out a room temperature, it’ll produce toxins,” says Emily Hovis, an assistant teaching professor at the University of Washington School of Public Health, as well as a former food safety specialist for the Washington State Department of Health. “So even when you reheat it, you’re killing the vegetative cells, you’re not destroying the toxins.”
Most people can handle a small amount of these toxins, but if Bacillus cereus multiplies enough in the “danger zone” of between 40°F and 140°F, it can make you sick.
“People will get a really terrible vomiting illness because of this bacterial toxin that’s in their food,” says Hovis. It can also cause cramps and diarrhea.
Symptoms from Bacillus cereus form within 6 to 12 hours, which is faster than most foodborne illnesses. You can expect nausea, cramps and lots of barf. The bacteria can also cause severe diarrhea if it multiplies in your intestine and produces toxin. Either way, you’ll be spending a lot of time in the bathroom.”
Some tips to avoid a Bacillus cereus infection:
When in doubt, throw it out.
Cook smaller portions of rice instead of big batches.
Don’t leave rice out for more than an hour or two (the “two hour rule” applies to all cooked foods).
If you do make a big portion, break it up into smaller storage containers before refrigerating. Don’t put a hot, covered pot of rice in the fridge that will trap heat and take a long time to cool.
After storing rice in smaller containers, put it right in the fridge; you don’t need to wait for it to cool down first.
Eat leftover rice within a few days, or even before that depending on your personal risk tolerance.
…and like my mom used to say, “If in doubt, toss it out!”
Info curated from https://rightasrain.uwmedicine.org/body/food/leftover-rice-bacillus-cereus-food-poisoning…Photo from Pinterest